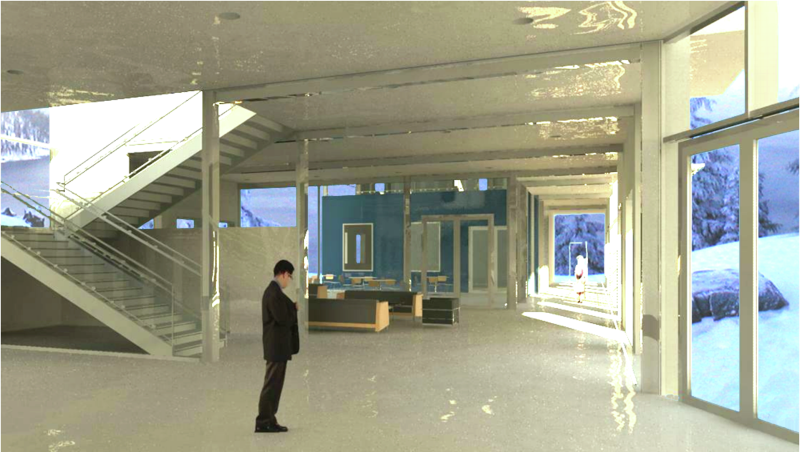
This assignment seemed like a great opportunity to experiment with artificial lighting in Revit as I have only done renderings with exterior light so far. It was also a great opportunity to begin rendering my current studio project, which is a crew rowing center and boathouse on Dexter Lake near Eugene. The view that I chose to render was from the entry lobby of the building.
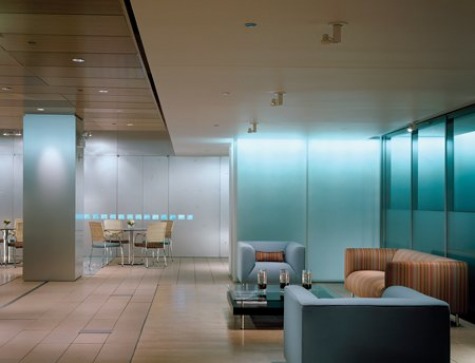
For my daylighting precedent image, I chose an interior with alot of views to the outdoors and no use of artificial lights, as this reflected the aesthetic that I am aiming towards in my studio project.
For my daylighting precedent image, I chose an interior with alot of views to the outdoors and no use of artificial lights, as this reflected the aesthetic that I am aiming towards in my studio project.

For my night rendering, I chose to emulate an image that utilized white and blue colored lighting to accentuate the space. Also, since the building is a boat house, the somewhat aquatic looking effect would be appropriate.
I did not have too much trouble with the exterior lighting rendering. I turned off the artificial lights as I wanted a clearly lit daytime space that contrasted with the more dynamically lit nighttime space.
One problem that I did have involved placing an exterior background image into the rendering. I read in someone's blog post that if the rendering was exported to photoshop as a png and then the background layer was transformed into a normal layer, the sky would be transparent and another image could just be placed underneath the building. For whatever reason, this did not work for me and I insead used the selection tool to select and then delete the areas of sky in the windows and then placed the background image underneath. This did work, however, I definately want to figure out how to make the original background transparent for future renderings.
One problem that I did have involved placing an exterior background image into the rendering. I read in someone's blog post that if the rendering was exported to photoshop as a png and then the background layer was transformed into a normal layer, the sky would be transparent and another image could just be placed underneath the building. For whatever reason, this did not work for me and I insead used the selection tool to select and then delete the areas of sky in the windows and then placed the background image underneath. This did work, however, I definately want to figure out how to make the original background transparent for future renderings.
The night image was a little more tricky as I have not worked with artificial lights in Revit yet.
My first immediate problem was that the light from the recessed luminaires was not showing up. I eventually realized that this was because my cieling was directly under the concrete floor above it and thus the lights were embedded in it. Recessed lighting fixture components cut holes in cielings but not floors. Lowering the cieling would have solved this problem, however, then the beams that I wanted exposed would be hidden. For this reason, since the second story floor is not visible in the view, I temporarily deleted it for the rendering. Next time I will just go into the view properties and temporarily hide the floor as I read this also works.
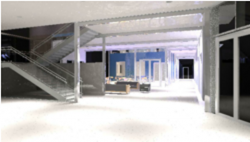
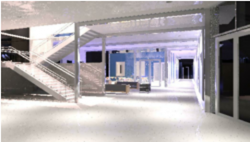
After this problem was taken care of, the preliminary renderings were so unsatisfactory I didn't even save thumbnails of them even though I probably should have to show my process. The images came out extremely dim and orangish yellow.
I was able to increase the lumen output of the lights greatly through the element properties interface. This solved the brightness problem. To solve the color problem, I raised the light temperature in the element properties interface to be closer to daylighting. This was an interesting process because I had to apply what I had learned about lighting in environmental control systems in order to get the look that I desired.
After this was resolved, it was just a matter of playing with the amount and strength of the lights, and then placing wall washing blue colored lights to create the more dynamic effect.
My first immediate problem was that the light from the recessed luminaires was not showing up. I eventually realized that this was because my cieling was directly under the concrete floor above it and thus the lights were embedded in it. Recessed lighting fixture components cut holes in cielings but not floors. Lowering the cieling would have solved this problem, however, then the beams that I wanted exposed would be hidden. For this reason, since the second story floor is not visible in the view, I temporarily deleted it for the rendering. Next time I will just go into the view properties and temporarily hide the floor as I read this also works.
After this problem was taken care of, the preliminary renderings were so unsatisfactory I didn't even save thumbnails of them even though I probably should have to show my process. The images came out extremely dim and orangish yellow.
I was able to increase the lumen output of the lights greatly through the element properties interface. This solved the brightness problem. To solve the color problem, I raised the light temperature in the element properties interface to be closer to daylighting. This was an interesting process because I had to apply what I had learned about lighting in environmental control systems in order to get the look that I desired.
After this was resolved, it was just a matter of playing with the amount and strength of the lights, and then placing wall washing blue colored lights to create the more dynamic effect.

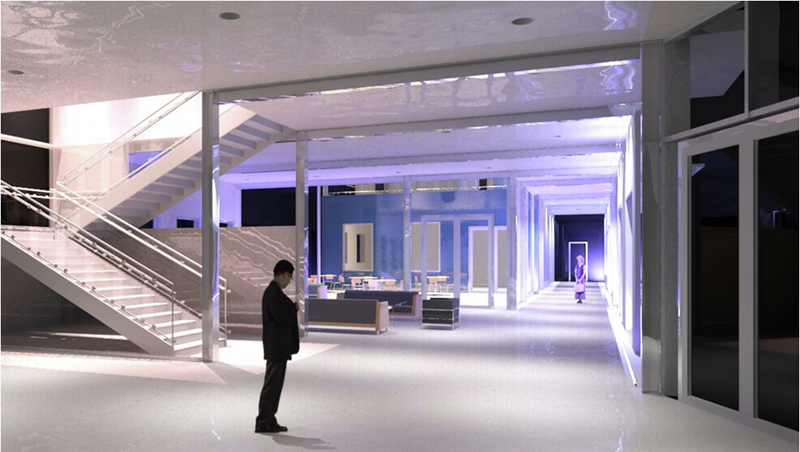
As far as design changes for my studio project go, this project was helpful in illuminating some apparent problems. First of all, The interior is too stark white and the use of more timber for surfaces such as the floor will give it more of a boathouse feel.
 RSS Feed